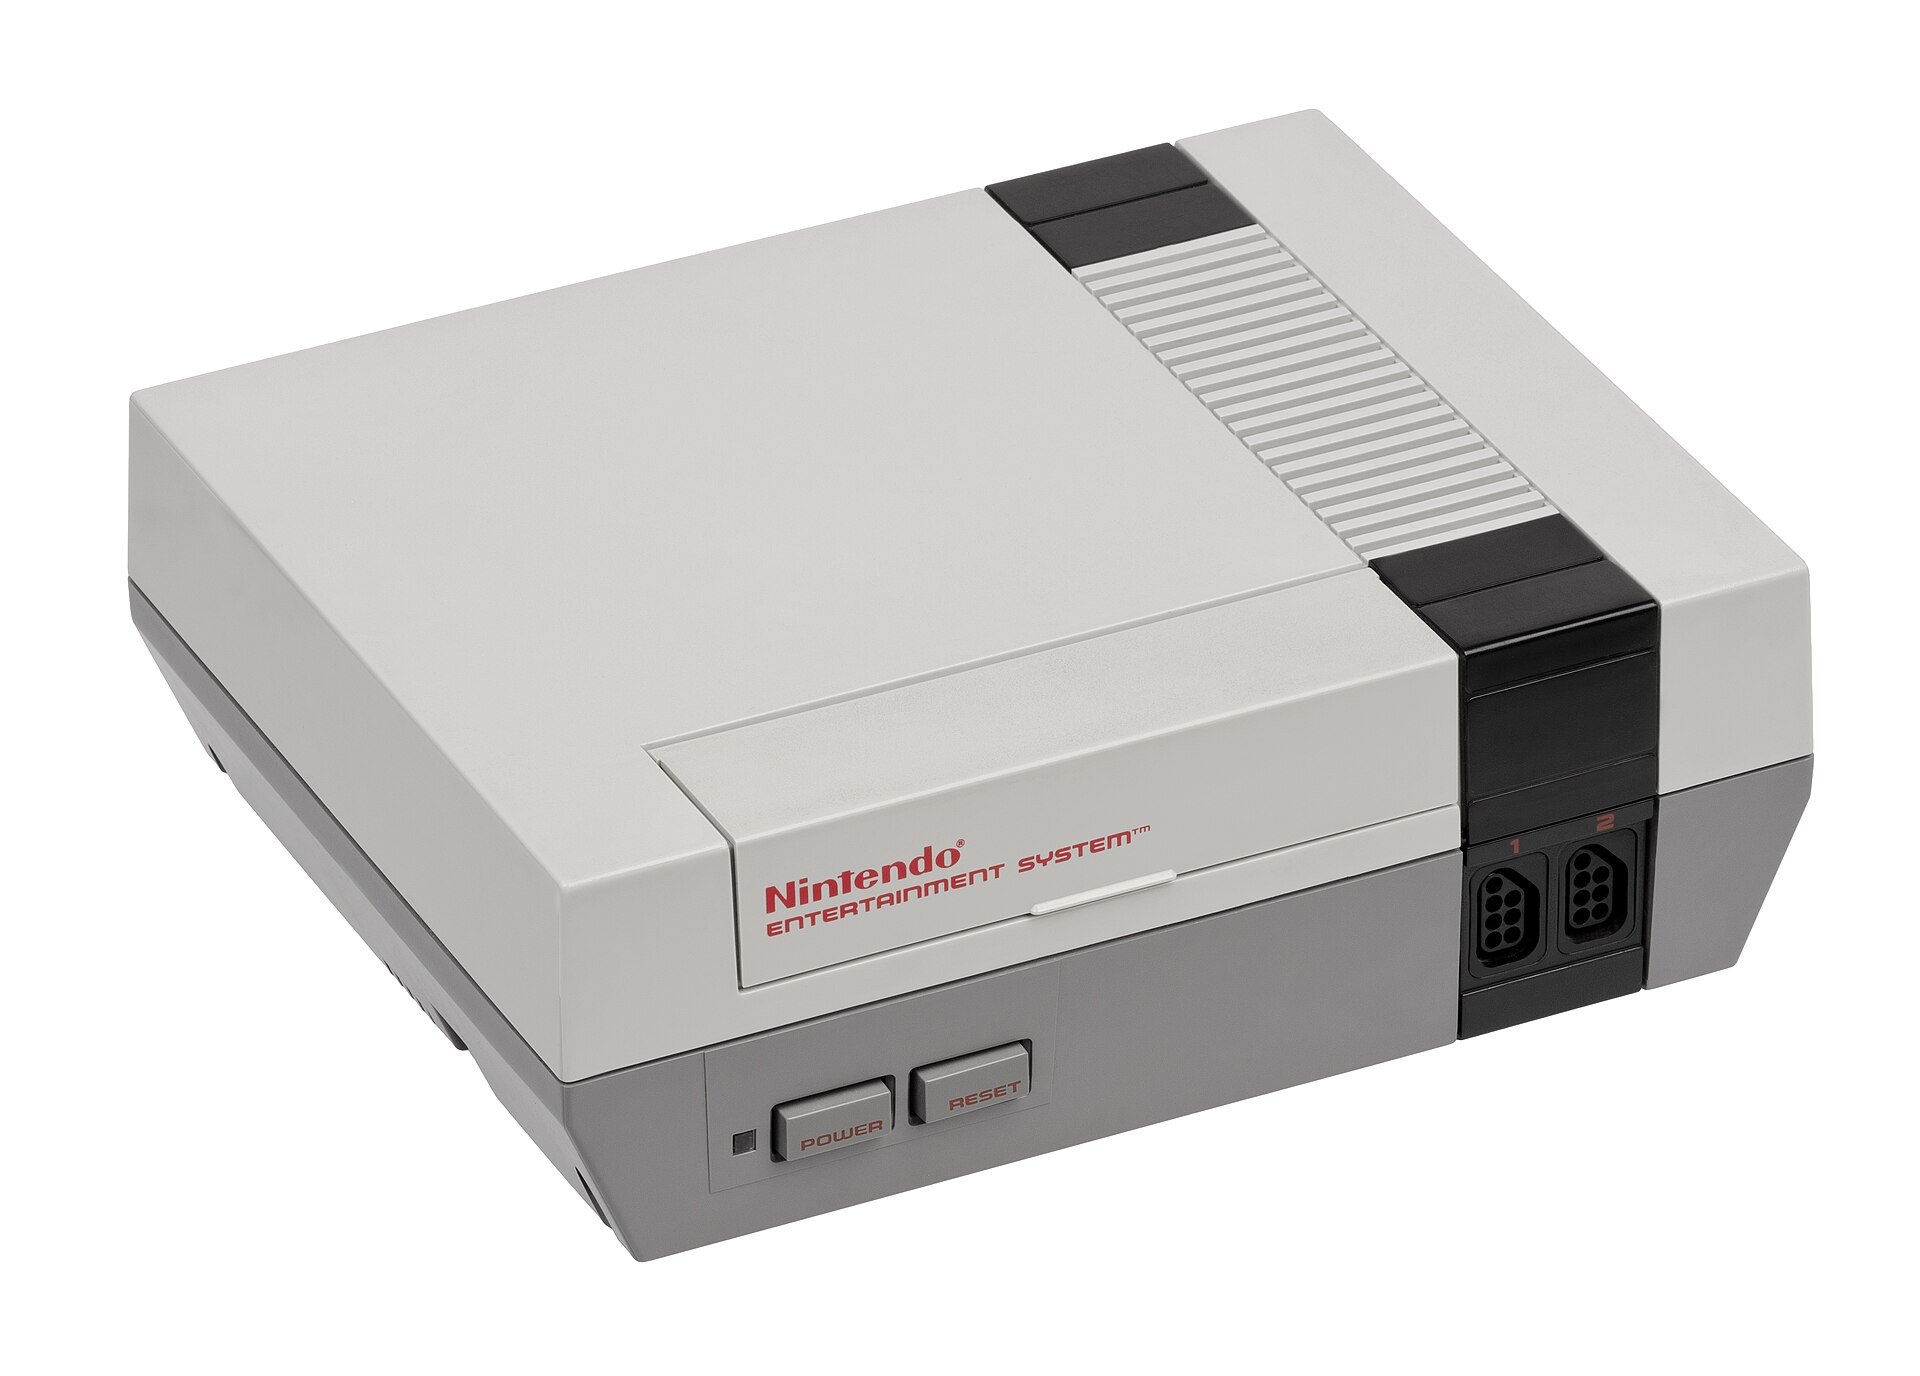
The NES-001, the front-loading model, has a well-known weakness. The cartridge slides in horizontally and is then pushed down, like in a VCR, and that motion eventually bends the contacts of the 72-pin connector. Over the years they lose tension and collect dirt, and the console answers with a gray screen or a blinking power light. Before buying a new connector it is worth diagnosing, cleaning and checking the one you have. All it takes is two known-good cartridges, a magnifier and isopropyl alcohol.
On the bench
- A Phillips driver and a tray so the screws do not mix
- 90–99% isopropyl alcohol
- A nylon brush, lint-free swabs, a microfiber cloth
- A magnifier. Smooth pliers, only if a pin has sunk
- A multimeter, if you have the schematic for your revision
- Two carts
A gray screen, a flicker, or a game that only boots if you shove it. Try two cartridges you already knew were good and that you just cleaned. If one boots and the other does not, the problem left with that cart.
- What you are seeing
If the game only boots when you wiggle the cartridge, the tension is weak or the leaves are bent. If only one game fails, the problem may be that cartridge. If none boot, check the connector, the power supply or the board. The blinking light is the lockout chip (CIC) resetting the console because it cannot read the cartridge properly.
- Kill the power
Power off, pull the adapter, the video cable and any accessory. Take the cartridge out. A clean table, good light. You do not work on the console while it is plugged in.
- Six screws
Turn the NES-001 over and remove the screws in the base. On many revisions there are six; photograph each one, with its length, before it comes out. Turn the console back and lift the lid without snapping the tabs.
- Shield
The upper shield comes off with its own screws. Lift it and keep it with those screws, apart from the shell's.
- Tray
Mark the screws on the loading mechanism. Remove them and slide the tray forward, off the connector. Watch the black tab underneath and the lock. If you force it, you bend plastic that will not line up later.
- The connector
Hold it by the plastic, never by the pins. Alternate the force at both ends, parallel to the board. If it does not move, a screw is still in or the direction is wrong. You stop. No prying.
- All 72
Magnifier, both rows. Compare each pin with its neighbor: dirt, a dark stain, one sitting lower, a bent one, a snapped one, eaten plating, cracked plastic. Grime: you clean. One lower than its row: one small bend. Snapped, corroded or a cracked shell: a new connector, compatible with the NES-001.
- One millimeter
Set the connector on a surface that does not conduct. With a smooth tool, correct only the pin that is clearly lower. Take the tool away and compare again. One pass. If the metal is already tired, that pin does not get bent again: you replace the part. Do not leave the 72 pins flat.
- Alcohol
Dust first, with the nylon brush. Then isopropyl on a lint-free swab: the contact surfaces, without hooking the pins. A fresh swab until it comes away clean. If you slide a card with a cloth between contacts, it has to go in without force. Let it all evaporate. No fibers. Sandpaper, steel wool, oil and WD-40 stay in the drawer.
- The cartridge
The cartridge contacts cause gray screens too. Put the alcohol on the swab, never straight onto the board, clean both sides gently and finish with a dry swab. Blowing leaves moisture and makes oxidation worse. If the gold plating is worn or a trace is cut, cleaning will not be enough.
- Back together
Dry, no lint. The connector goes in straight, in the orientation it came out, lined up with the edge of the board. Tray, lower tab, lock. Before you close it all the way, the tray has to slide and catch. Screws back in the hole they left, without overtightening. If you have one left over, open it again.
- Three games
Assembled, dry, no tools left inside. The cartridge goes in without catching. Power on with one you already knew: a stable picture. Power off and on several times. Run at least three games and leave it for a few minutes. If the fault remains, check how the connector sits and how clean those carts are, then the power and the board.
- A new part
Broken contacts, deep corrosion, cracked plastic or a leaf that will not hold tension after adjustment: time to replace the part. Note the orientation before removing the old connector. Some generic replacements grip too hard or have the wrong geometry; a badly seated connector fails just like a dirty one.
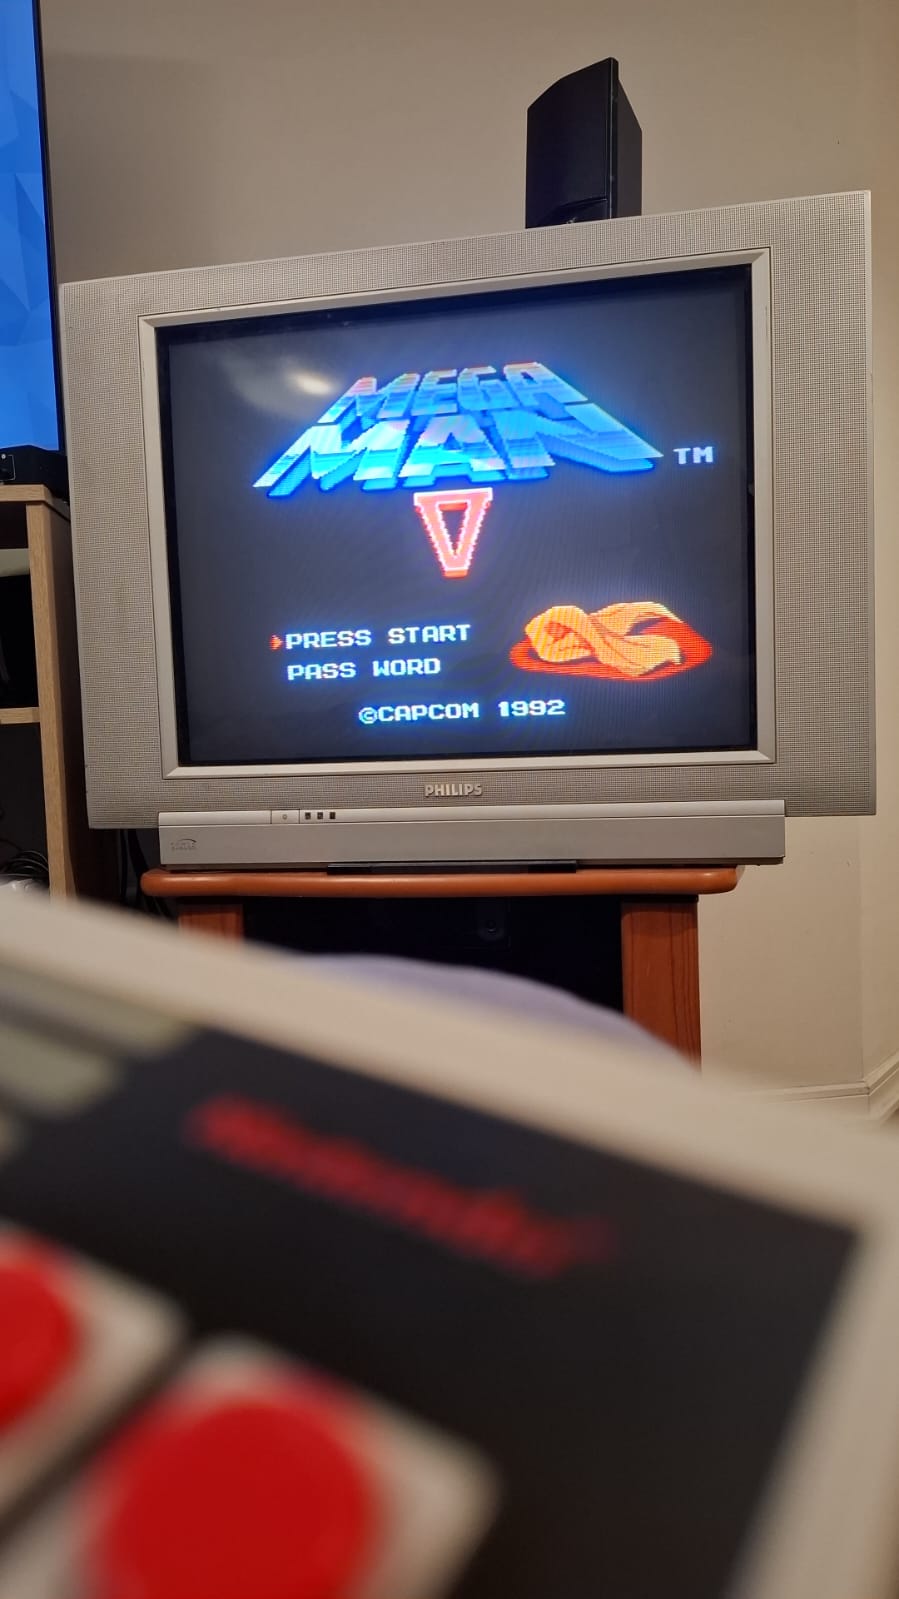 Equipo Wisegrow · Foto propia
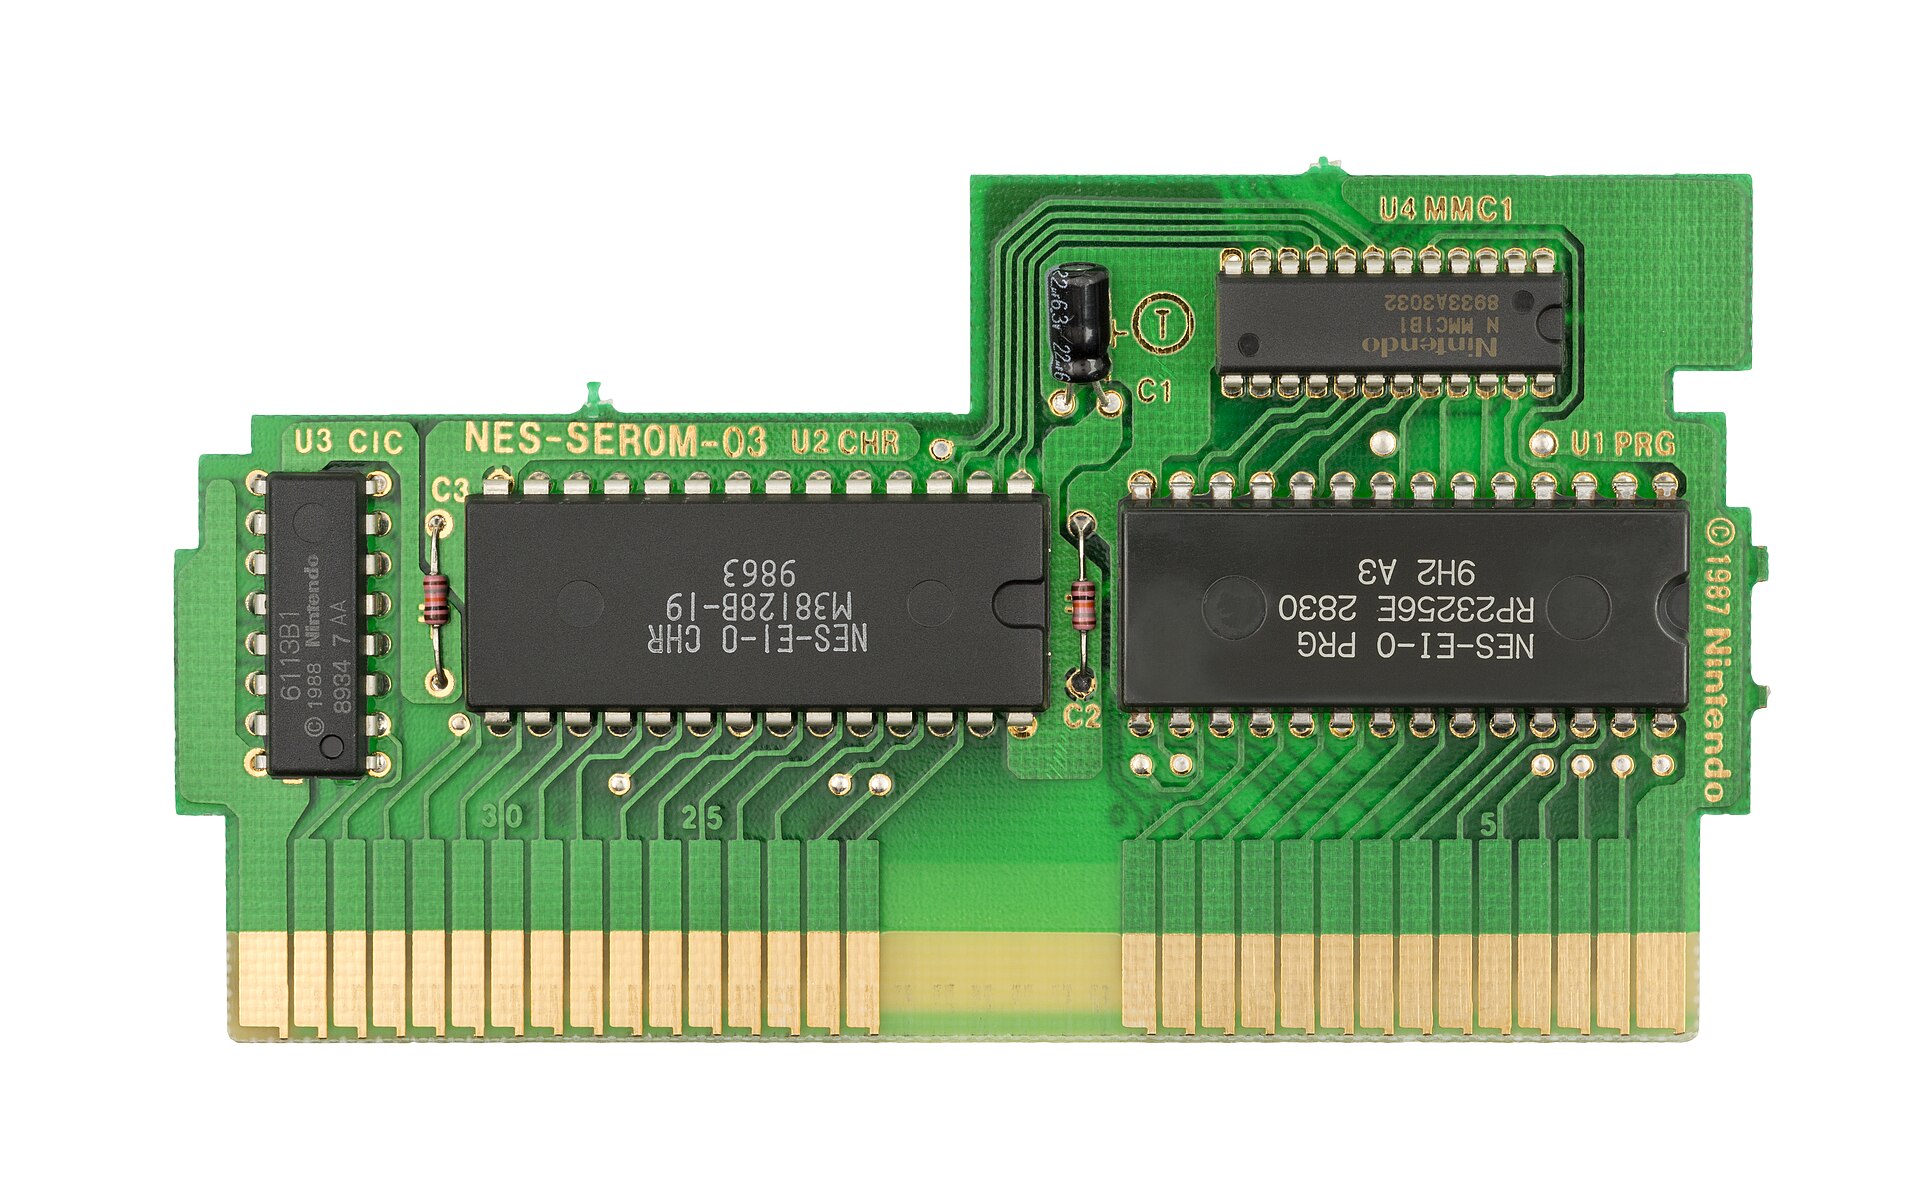 Evan-Amos · Public domain
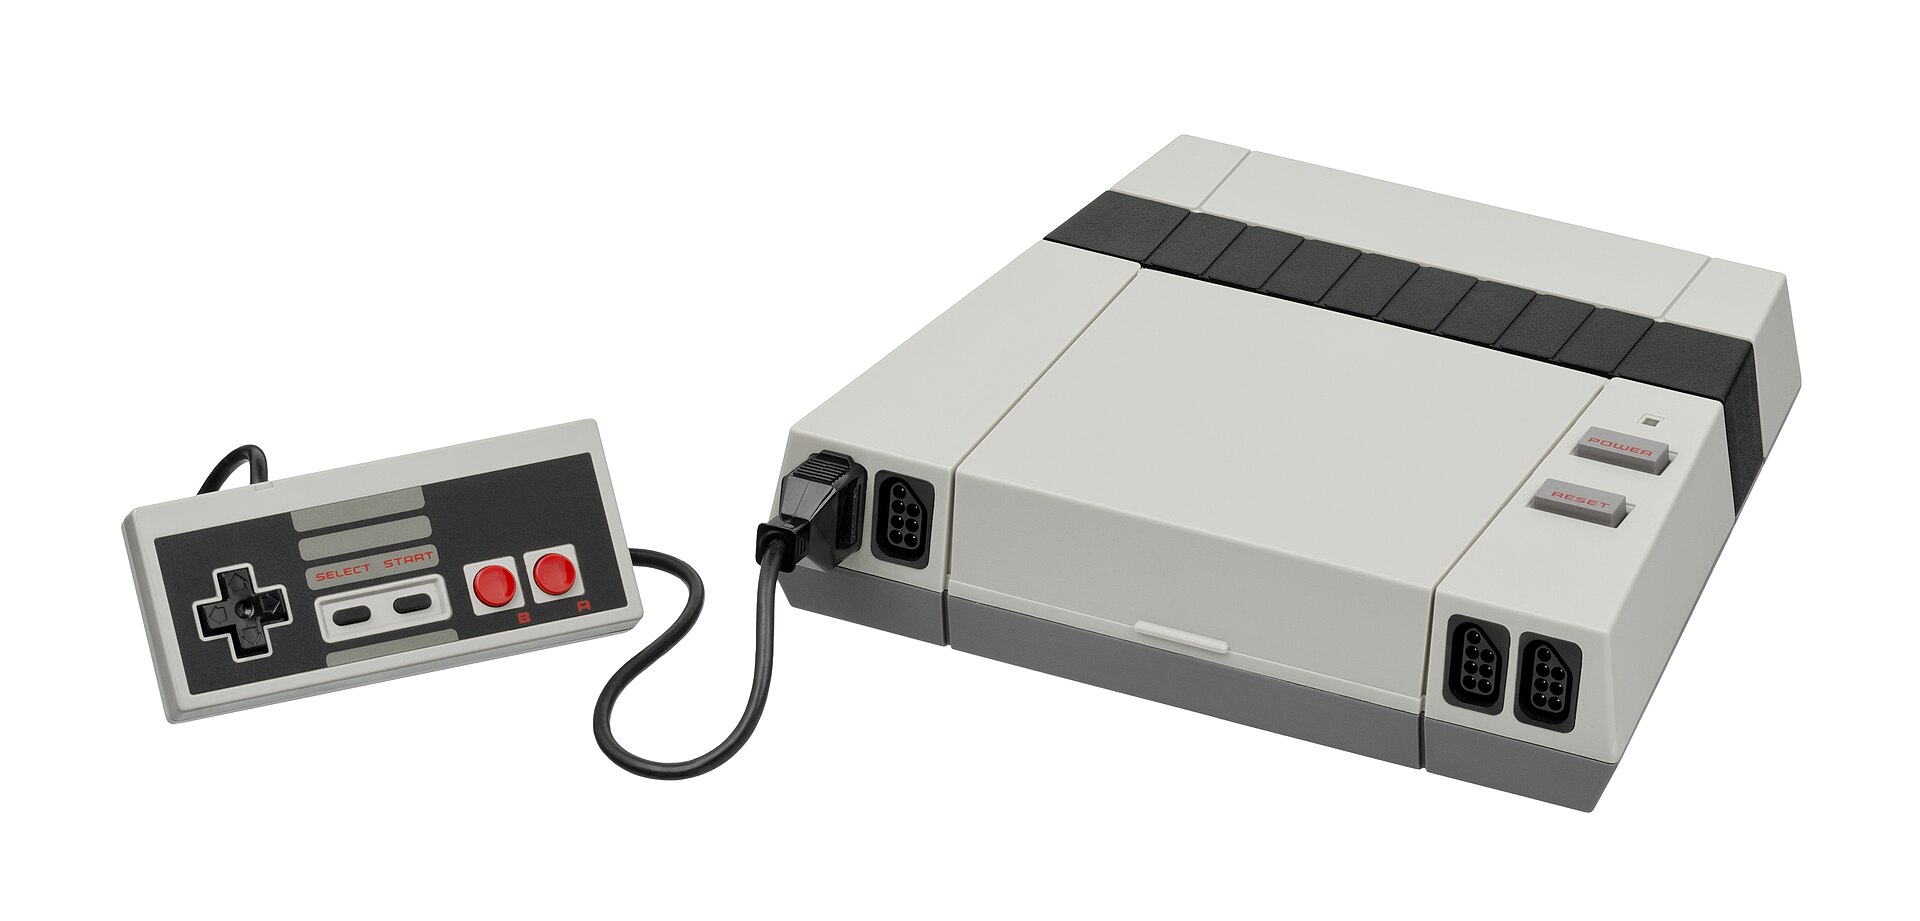 Evan-Amos · Public domain